
Product Photography on a Budget: A Guide for Small Retailers
Good product photos sell. Online, they replace the experience of picking something up and looking at it closely. On social media, in emails, and on your Google Business Profile, they decide whether someone stops scrolling. For a small retailer, though, hiring a professional photographer for every new product is rarely realistic.
The good news is that a modern smartphone, some daylight, and a few inexpensive props can produce clean, consistent images that do your products justice. This guide shows you how.
Start with the camera you have
Most recent smartphones take photos that are more than good enough for websites and social media. The difference between amateur and professional-looking images usually comes down to light, background, and consistency, not the camera.
- Clean the lens. A smudged lens is the most common cause of hazy photos.
- Use the main camera. On phones with several lenses, the standard lens usually gives the best quality.
- Avoid digital zoom. Move closer instead, or crop later.
- Tap to focus and adjust exposure. Most phones let you tap on the product and slide to brighten or darken.
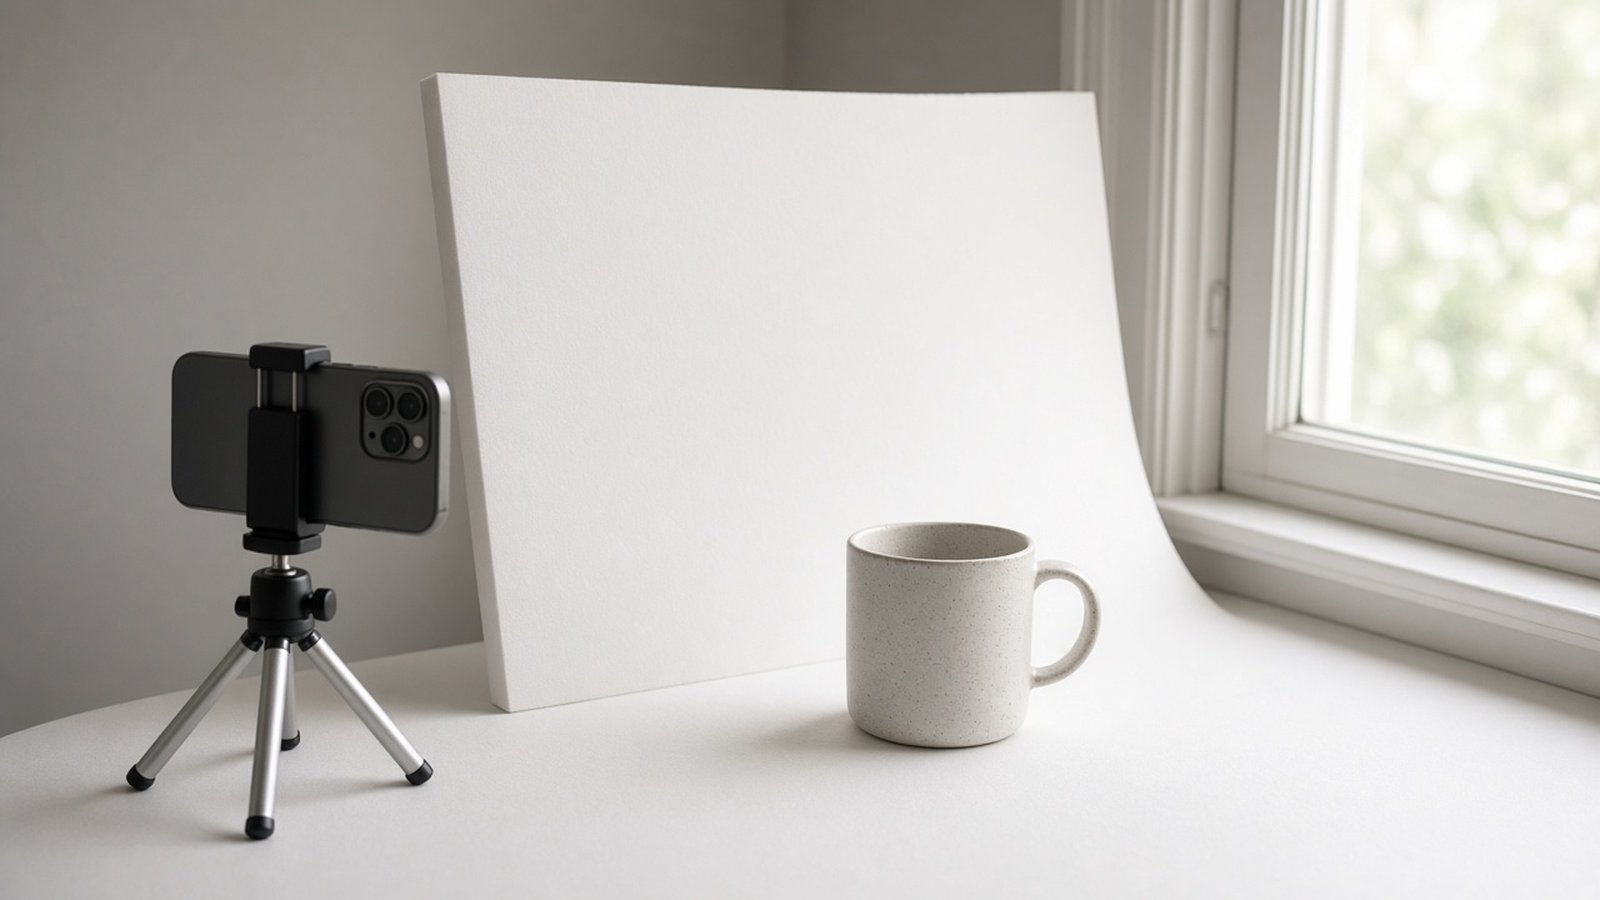
- Use a tripod. An inexpensive phone tripod keeps shots sharp and makes it easy to repeat the same setup.
Light is everything
Use natural window light
Soft daylight from a large window is the best free light source. Set up your table beside the window, not facing it, so light falls across the product from the side. Avoid direct harsh sunlight, which creates strong shadows and glare. Overcast days or north-facing windows often give the softest light.
Bounce and soften
A white foam board or piece of card on the opposite side of the product reflects light back into the shadows, giving a brighter, more even look. A sheer white curtain or baking paper over the window can soften harsh light.
If you need artificial light
For consistent results regardless of weather, an affordable LED panel or a pair of daylight-balanced lamps can work well. Avoid mixing light sources, such as window light and warm room lights, which can cause odd color casts.
Choose the right background
Plain backgrounds for product listings
For website product pages, a plain white or light gray background keeps attention on the product and makes your catalog look consistent. A sweep of white paper or poster board curving from the table up to a wall creates a seamless background with no visible horizon line.
Lifestyle backgrounds for marketing
For social media, emails, and banners, lifestyle shots show the product in use or in context. A ceramic mug on a wooden table with morning light, or a scarf draped over a chair, tells a story that a white background cannot. Use textures and props that match your store's style.
Styling tips that make products shine
- Prep the product. Remove dust, fingerprints, lint, and price tags. Steam or iron fabrics.
- Show the details. Take close-ups of textures, stitching, labels, and features customers ask about.
- Show scale. Include at least one shot that helps customers understand size, such as the item in a hand or next to a familiar object.
- Use props sparingly. Props should support the product, not compete with it.
- Shoot multiple angles. Front, back, side, top, and detail views answer questions before customers ask them.
Consistency builds trust
When every product photo on your site uses the same background, lighting, and framing, your store looks more professional and easier to browse. Write down your setup, including where the table goes, the camera height, and the distance from the product, so anyone on your team can recreate it. Many retailers mark positions on the table with small pieces of tape.
Simple editing
A few minutes of editing makes a big difference. Free and low-cost editing apps can handle the basics:
- Straighten and crop so products are centered and framed consistently.
- Adjust brightness and contrast so whites look white, not gray.
- Correct color so the product looks like it does in real life. Accurate color reduces returns and disappointed customers.
- Remove small blemishes such as dust specks, but do not alter the product itself.
- Export at the right size for your website and platforms, keeping files reasonably small so pages load quickly.
Background removal tools can help create clean listings, but check edges carefully and keep results realistic.
Get more from every shoot
Batch your photography. Shooting many products in one session with the same setup saves time and keeps images consistent. While your setup is ready, capture extra images for different uses: a square crop for social media, a wide shot for email headers, and close-ups for detail views.
Use your photos everywhere: product pages, social posts, email newsletters, and your Google Business Profile. Our Google Business Profile checklist and guide to email and SMS marketing for local shops show how to put them to work.
Strong visuals also make the jump from brick-and-mortar to digital selling much easier, a shift we discuss in our look at retail's move online.
Frequently asked questions
Do I need a professional camera?
No. A recent smartphone, good light, and a tripod can produce excellent product photos for most small retailers.
What is the best background for product photos?
Plain white or light gray works best for product listings. Use styled, natural backgrounds for lifestyle images.
How many photos should each product have?
Several, if possible: a main image, a few angles, close-up details, and a shot that shows scale or the product in use.
Should I edit my photos?
Yes, lightly. Adjust brightness, color, and cropping, but keep the product looking true to life.